The summer heat in Sasaram can be relentless, turning homes into uncomfortable ovens. A new air conditioner is a significant investment in your family's comfort, but its performance depends heavily on correct installation. To ensure you get the cooling power you're paying for, it's wise to rely on professional AC Repair Sasaram technicians from the start. This checklist will guide you through the essential steps for a successful installation.
1. Select the Correct AC Tonnage for Your Room
Before you even book an installation, make sure you have the right air conditioner for your space. AC capacity is measured in "tons," which refers to its cooling power. A unit that is too small for the room will run constantly without ever reaching the desired temperature, leading to high electricity bills. Conversely, an oversized unit will cool the room too quickly and shut off, a process called short cycling. This prevents the AC from properly dehumidifying the air, leaving it feeling cold and clammy.
For a standard bedroom up to 140 sq. Ft., a 1-ton AC is usually sufficient. A larger living room or master bedroom might require a 1.5-ton or even 2-ton unit. A qualified technician can help you calculate the correct tonnage based on room size, ceiling height, and the number of windows.
2. Know What a Standard Installation Includes
A professional AC installation should be a thorough process. In Sasaram, a standard split AC installation typically takes between two and four hours. Before agreeing to the service, confirm what is covered in the base price, which usually ranges from ₹1,500 to ₹2,500.
A standard package should include:
- Mounting the indoor and outdoor units.
- Connecting the indoor and outdoor units with up to 3 meters of copper piping.
- Connecting the electrical wiring between units.
- Setting up the drainage pipe for condensed water.
- Performing a vacuum process to remove air and moisture from the pipes before releasing the refrigerant.
- A final check of the cooling performance and functions.
Extra charges may apply for things like a wall bracket for the outdoor unit, extra copper piping, or drilling through thick concrete beams.
3. Plan the Placement of Both Units
Where you place your AC units has a major impact on their efficiency and lifespan. The indoor unit should be mounted high on an interior wall, allowing cool air to circulate naturally throughout the room. Avoid placing it where it will be hit by direct sunlight or above other heat-generating electronics. It also shouldn't blow directly onto where people sit or sleep.
The outdoor unit needs good airflow to dissipate heat. It should not be placed in a tight, enclosed balcony or surrounded by clutter. Ensure there is enough space around it for a technician to access it for future cleaning and repairs. Discussing these placement options with your installer beforehand prevents future problems.
4. Verify the Technician’s Experience and Tools
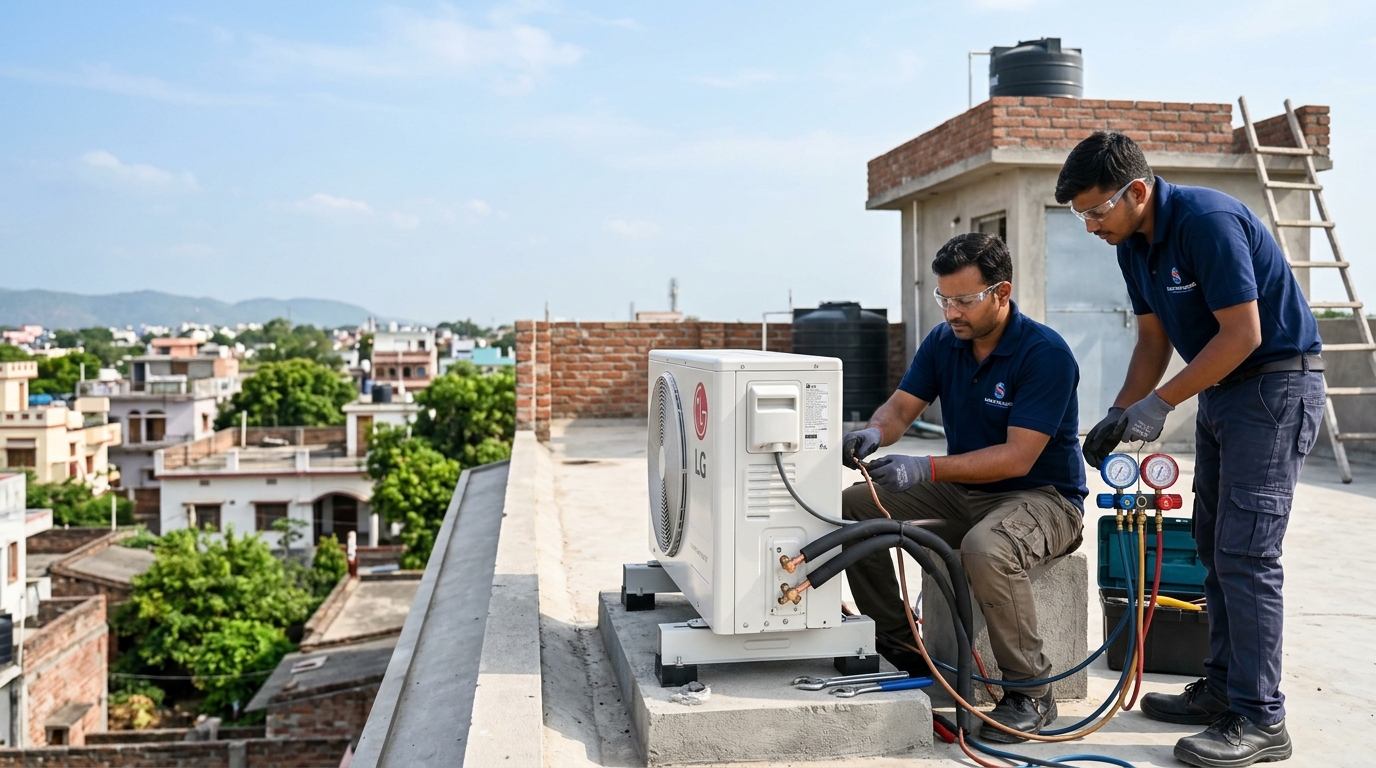
Not all installation services are equal. A professional team will arrive with the proper equipment to do the job correctly. Key tools include a vacuum pump for purging refrigerant lines, a set of pressure gauges, a drill, and flaring tools. An installer who arrives with just a few basic hand tools is a major red flag.
Ask the service provider if their technicians are experienced with your specific AC brand. Proper installation protects your warranty and ensures the unit operates as the manufacturer intended. Relying on an inexperienced person can lead to gas leaks, poor cooling, and damage to the compressor over time.
5. Perform a Final Check Before the Technician Leaves
Once the work is done, don't rush to sign off. Ask the technician to run the air conditioner and demonstrate its functions. Switch it between different modes (cool, fan, dry) and temperature settings to confirm everything works. Listen for any strange vibrations or loud noises from either the indoor or outdoor unit.
Finally, check the drainpipe outside to see if water is dripping out—this shows the dehumidification process is working. A thorough post-installation check confirms the job was done right. This final step is crucial for enjoying a cool and comfortable summer in your Sasaram home without any immediate follow-up calls for repairs.